
How To Stretch And Fold Sourdough

Stretch and folds are used during bulk fermentation to encourage a strong structure, maintain a consistent temperature and help the dough develop evenly. When we want to stretch and fold sourdough, we will use one of the following techniques. As sourdough tends to be kneaded gently, we need stretch and folds to accelerate gluten development and speed up the organic development of the dough.
A stretch and fold schedule is a routine given to a batch of dough. The dough is pulled out, stretched and folded before it’s left to rest in a container for a period before the action is repeated. Here’s how to do a standard stretch and fold that I use in the majority of my bread, including my sourdough bread recipe for beginners.
Standard stretch and fold steps
The original version of stretch and fold is a fantastic way to provide even distribution and give the gluten a good stretch.
Step 1
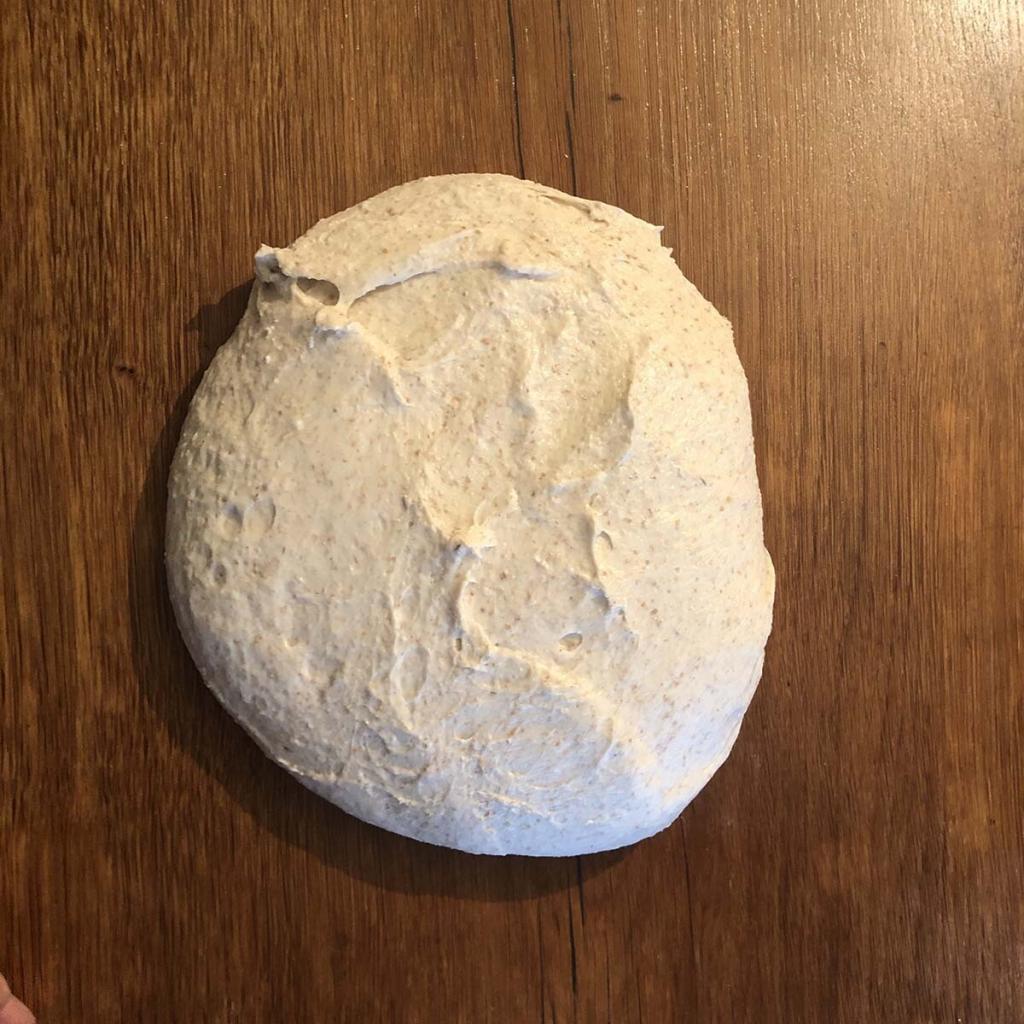
Make an oil slick or lightly dust flour on the work surface. Empty the dough out of the bowl and roughly flatten the dough into a square – don’t fiddle with the dough too much. As long as there are four sides, we’re good.
Step 2

Take one side and stretch it away from the centre. Use your other hand to hold the remaining dough down. Stretch as far as the dough will let you without tearing it. More stretching means the gluten is worked harder.
Step 3

Fold the side over at approximately ⅔’s the width.
Step 4

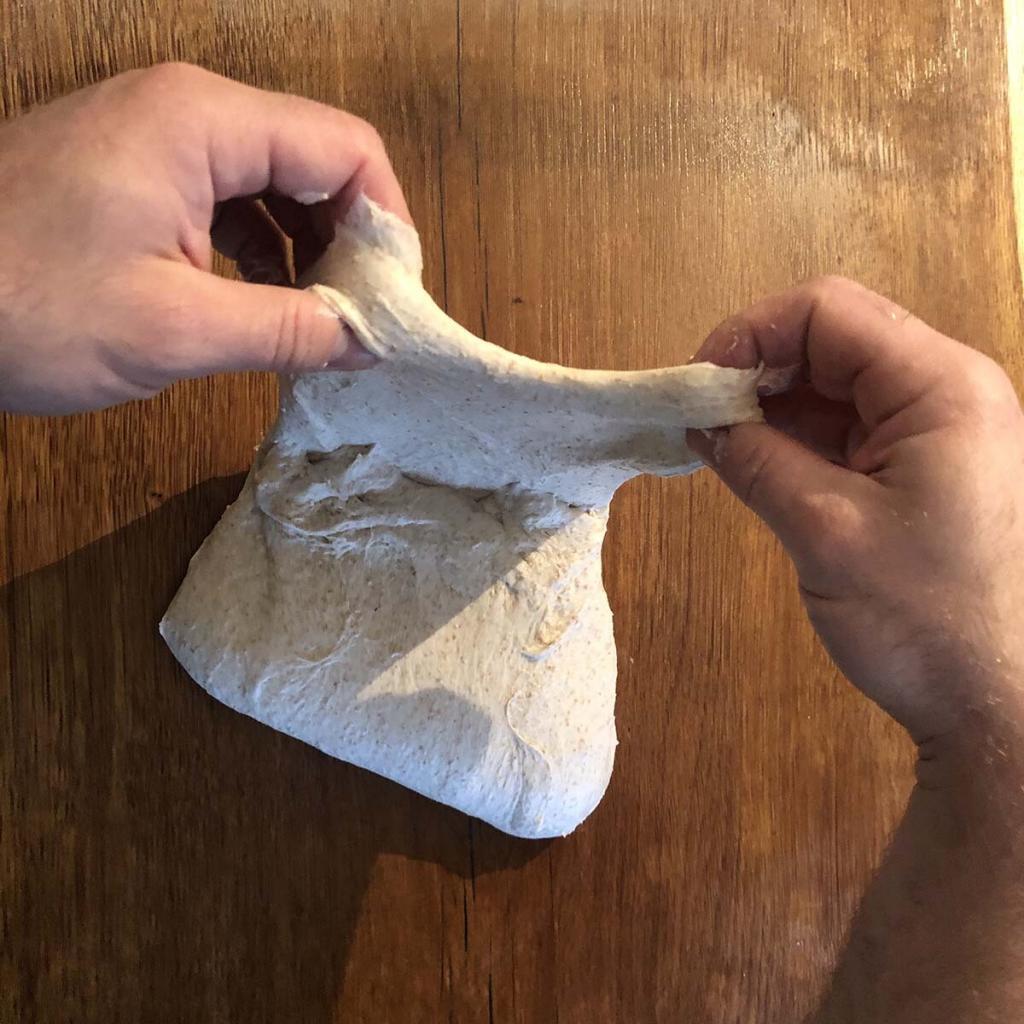

Repeat the stretch on the opposite side and fold over to cover the other fold. The second fold stretches to the opposite edge.
Step 5

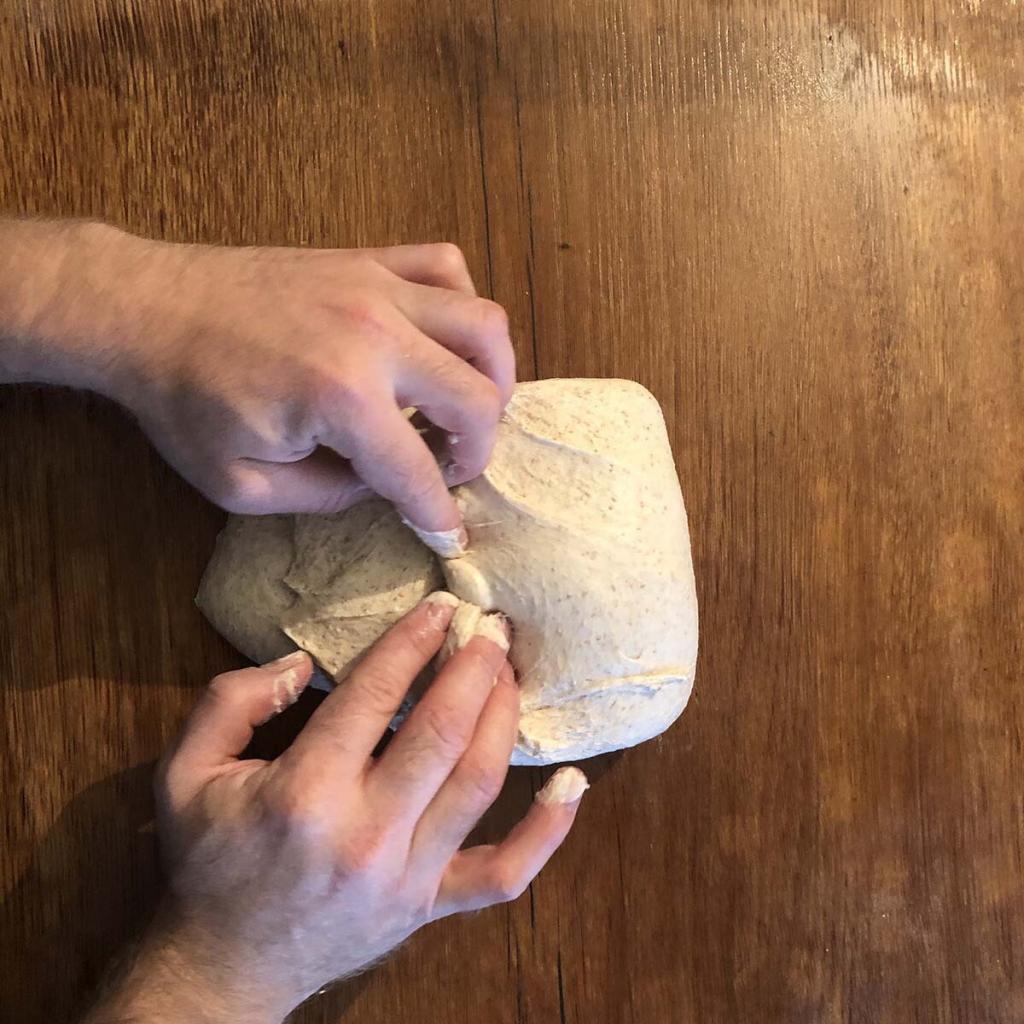
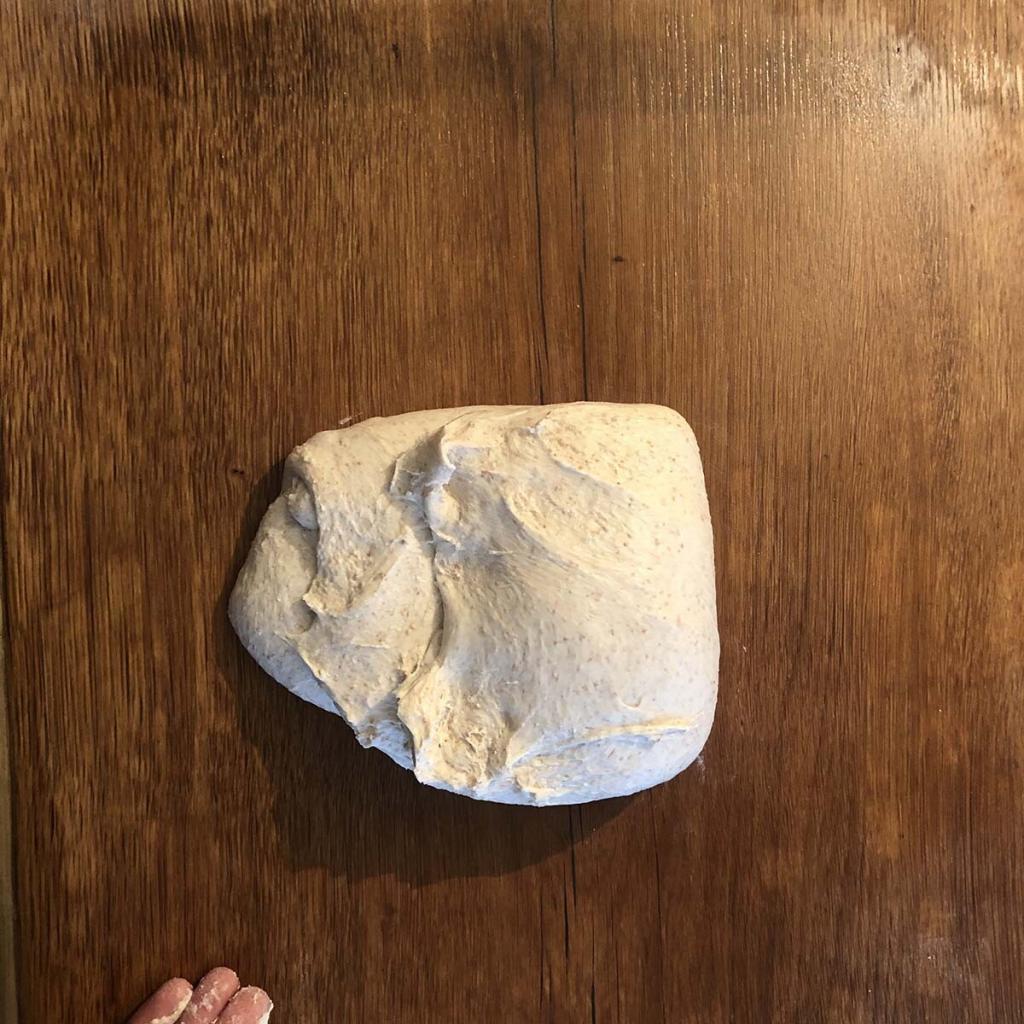
Take the edge at the top of the dough and stretch it up and fold over ⅔’s down.
Step 6


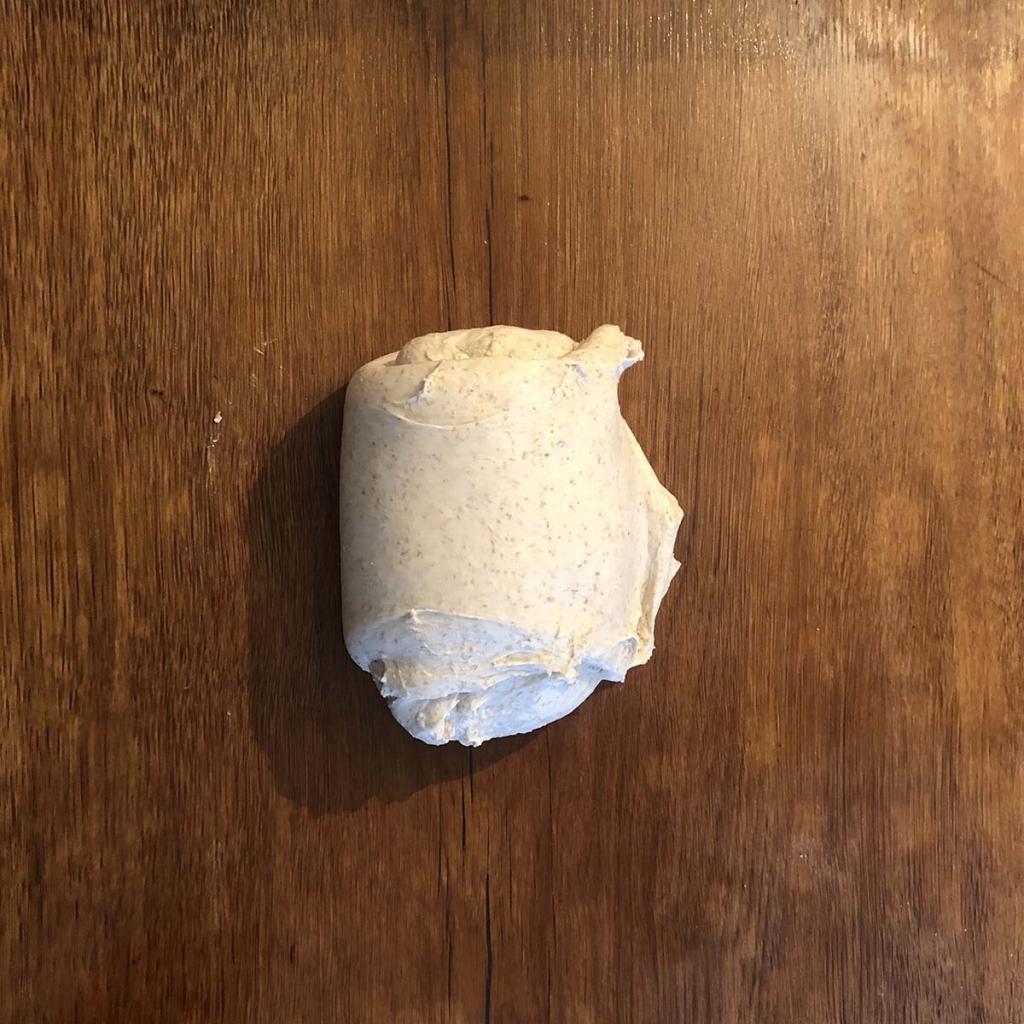
Pull the dough’s bottom and fold it over its opposite edge.
Step 7

Done! You should feel that tension has been put into the dough. Now you’ve finished, place it back in the bowl, cover and continue the bulk ferment.
How many stretch and folds should I do at a time?
The standard bulk fermentation routine includes one stretch and fold every hour. When the first rise is relatively short, the gaps between folding can be decreased into 20-45 minute intervals. This will accelerate the development of gluten.
What stretch and fold’s do to sourdough bread?
- Stretch the gluten to encourage an elastic structure
- Redistribute the temperature of the dough
- Redistribute the sugars and yeast to accelerate fermentation
Dough that undergoes stretch and folds has a stronger gluten structure and a reduced bulk fermentation time.
No-knead sourdough baking
In sourdough baking, kneading is often swapped with a sequence of stretch and folds. A basic routine is 5 minutes of folding every 30 minutes over the first 2 hours though it can be tweaked. More aggressive techniques of stretch and folding the dough have been introduced in recent years. This aids the development of gluten and is less labour-intensive than kneading.
The stretch and fold methods used in sourdough baking
Stretching in the bowl
This method works pretty well. It doesn’t work the gluten as well as other techniques do but keeping the folds in the bowl makes a lot less mess – especially with oily or sticky dough! Here I’ve done this method using 4 sides. However, in the basic stretch and fold guide I use 8.
Step 1
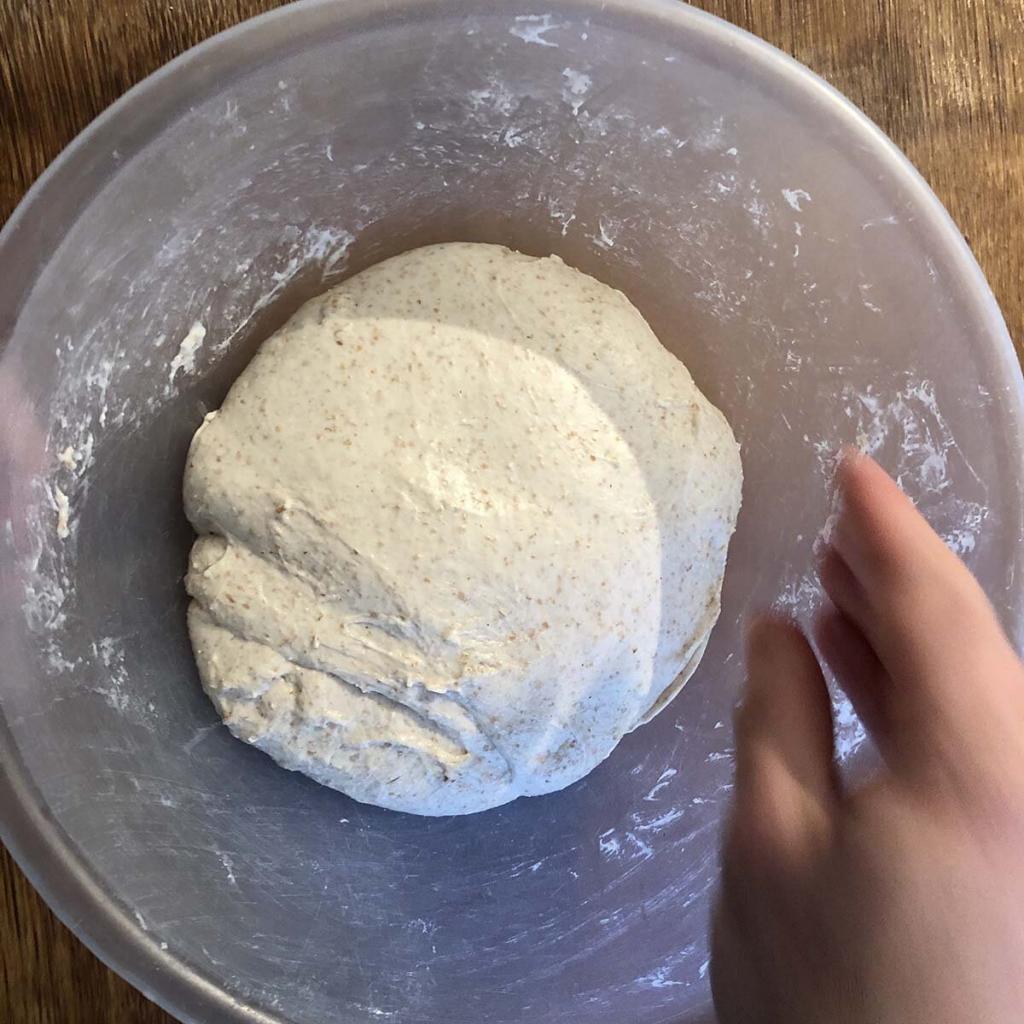
If you are using a round bowl, imagine the dough has four sides like a square. If you are using a square container, there’s no need to imagine!
Step 2


Take the top edge and pull it away from the centre of the dough. Use your other hand for stability if you need to. Stretch as far as the dough will go without tearing it.
Step 3

Fold the edge over to the opposite side.
Step 4

Turn the bowl 90 degrees.
Step 5


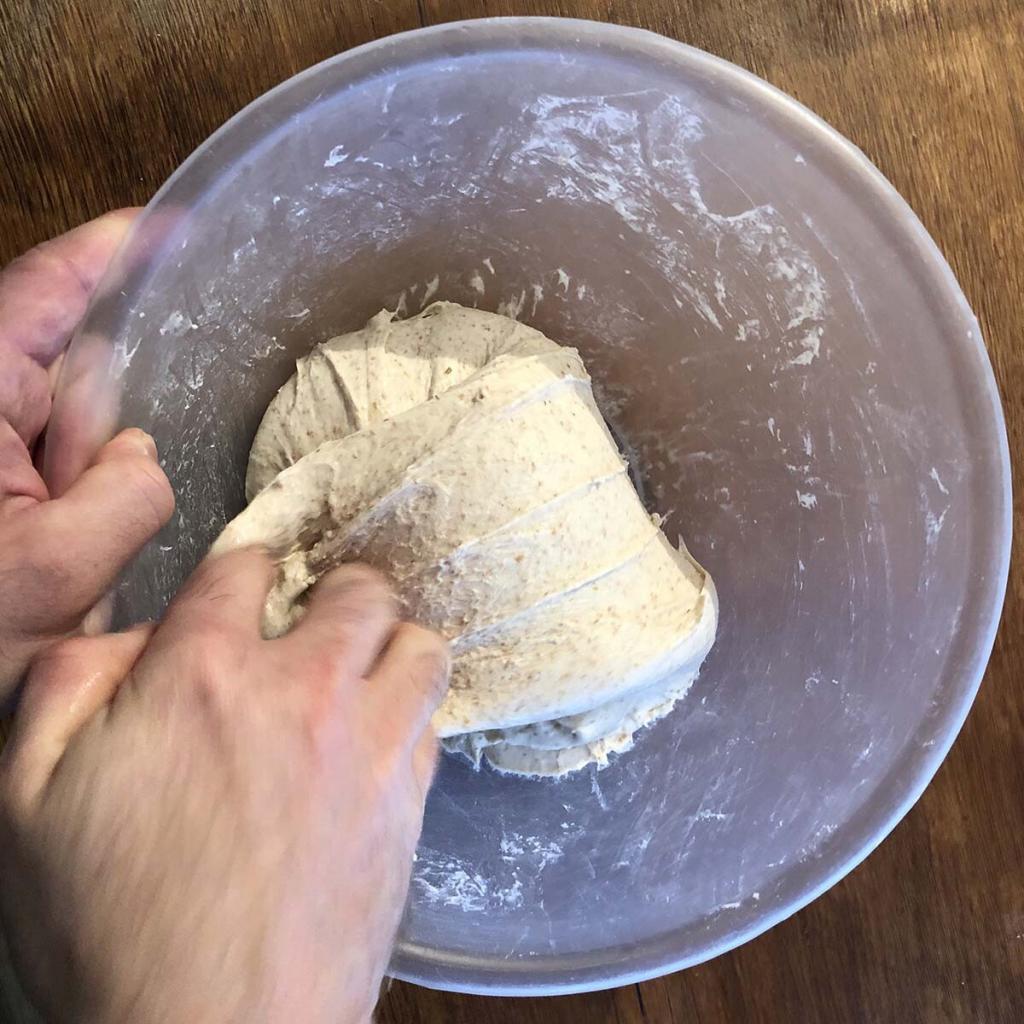
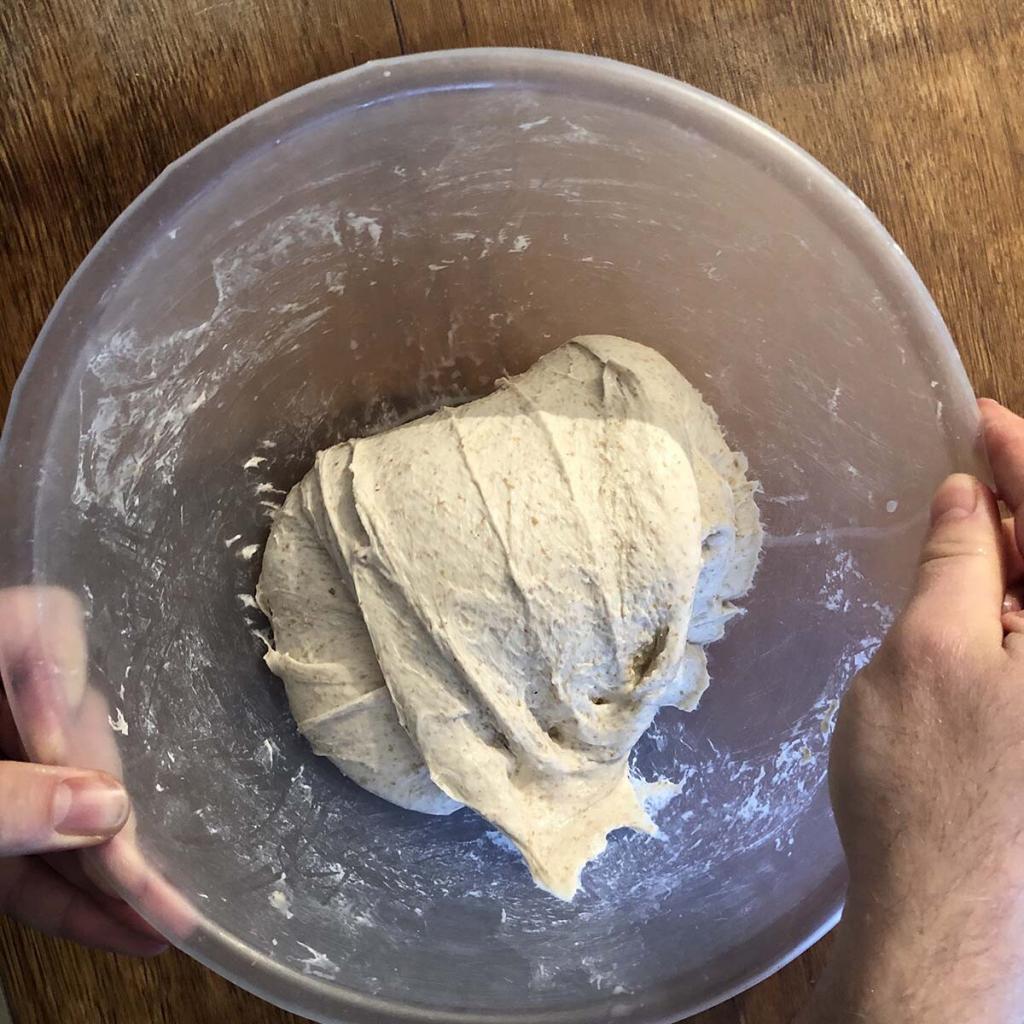


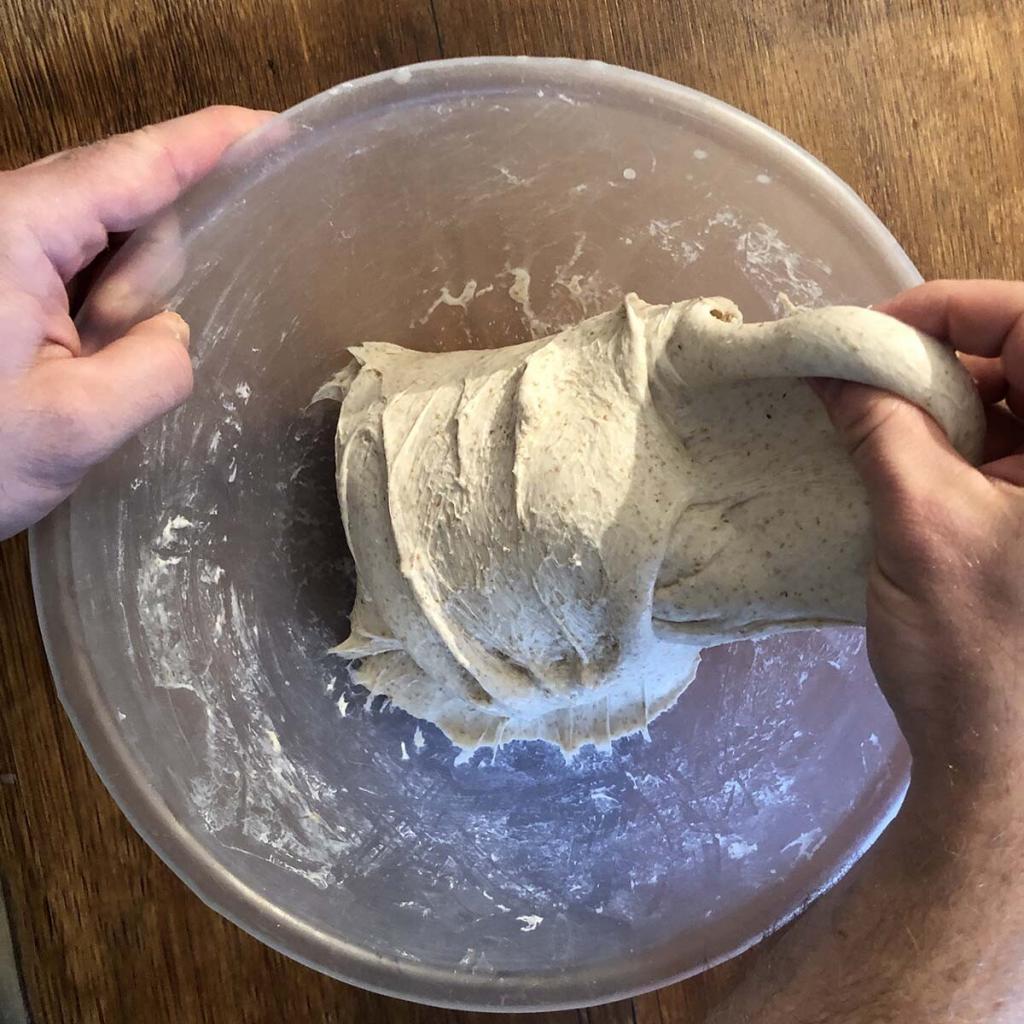


Repeat the stretch and folds for all four sides.
Step 6

Turn the dough over, placing the seam at the bottom of the bowl.
Step 7

You are done! Cover the bowl and bulk fermentation can continue!!
The coil fold
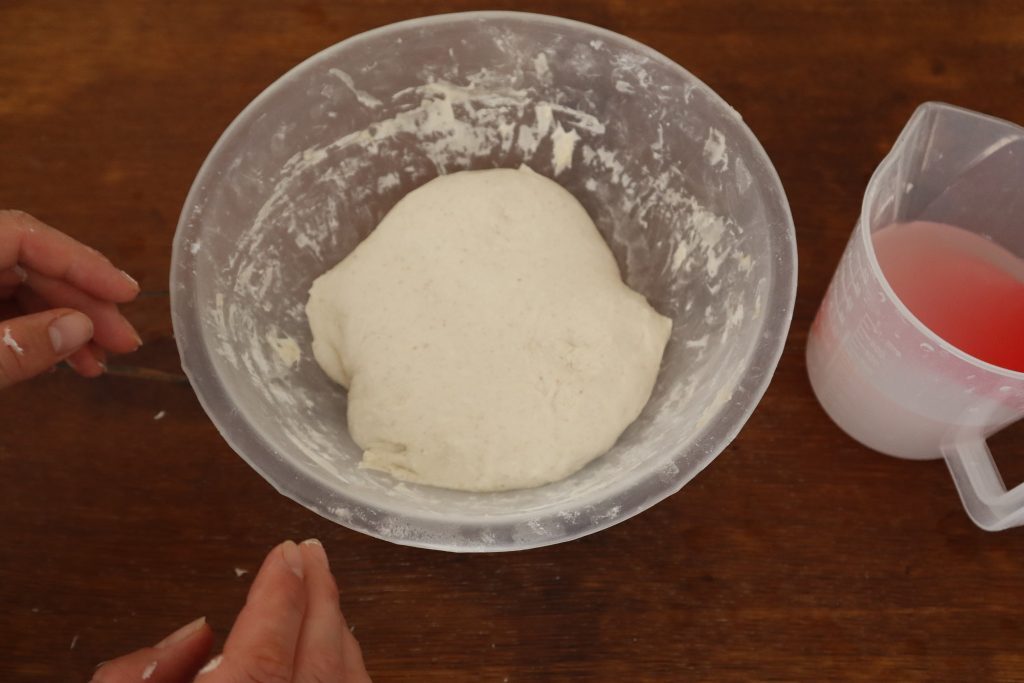
If you want to build tension in the dough for maximum strength, a coil fold is a great solution. They also make working with wet dough much easier. The method is quite hard to explain in words so check out the video below for clarity!
Wet your hands and a dough scraper and loosen the dough from the edges of the bowl


Place your hands down the edges of the bowl and lift the dough that’s at the top of the bowl. Stretch the dough up and fold it over itself as you release


Repeat on the bottom of the dough


Turn the bowl 90 degrees and repeat the two folds

Done! You can either repeat a few more times or place the dough back in the bowl, cover and continue bulk fermentation.
Letter (envelope) fold
The most aggressive way to develop gluten is the letter or envelope fold. You’ll need the gluten to be already relatively enhanced, so it often follows another method, midway through bulk fermentation
Step 1
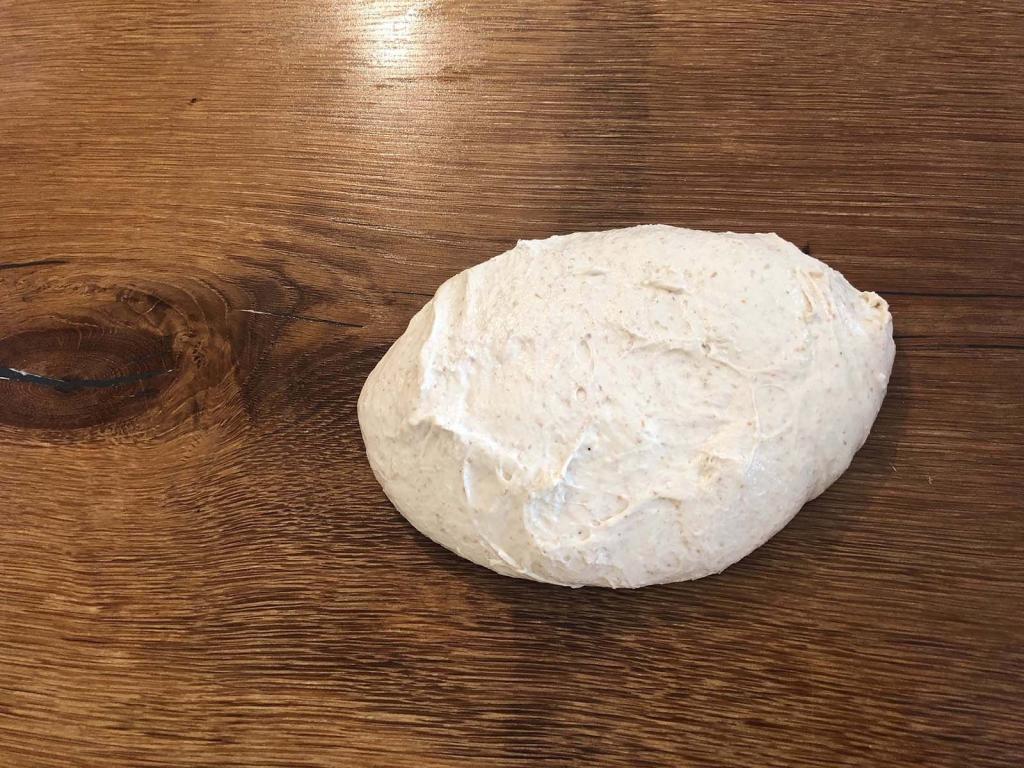

Turn the dough out onto the worktop and stretch it into a rectangle.
Step 2

Take one edge and fold over, so it meets the centre.
Step 3
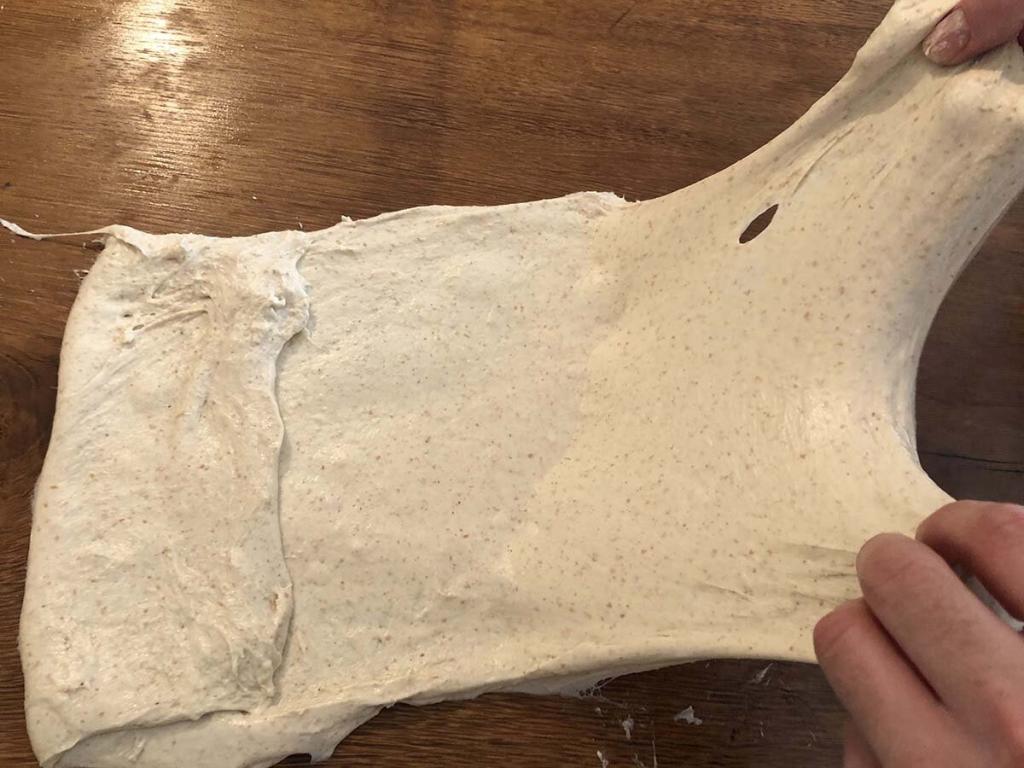


Using the opposite side of the dough, repeat the fold.
Step 4


Pull the bottom of the dough and fold it into the centre.
Step 5
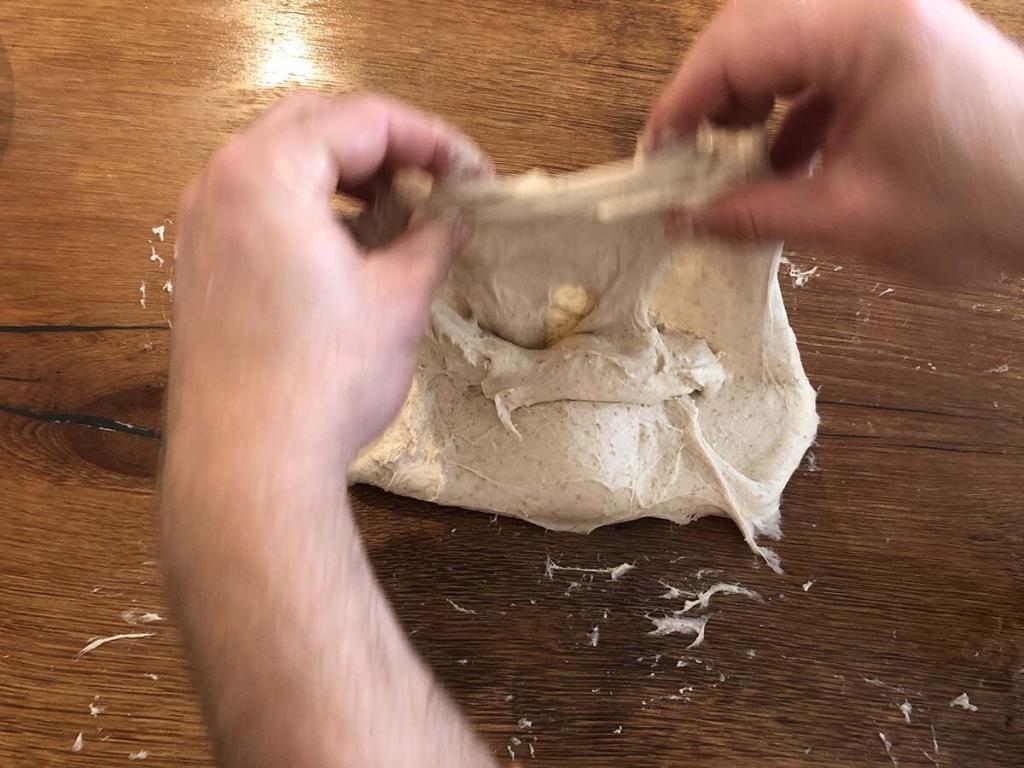
Fold over the top to cover the dough.
Step 6

Pick up the dough and return it to the bowl and, you’re done! The dough can continue its bulk fermentation!
The Tartine method stretch and fold
This is a pretty revolutionary method used to make sourdough bread. It is a no-knead method that home bakers have quickly adopted across the world. The Tartine method doesn’t knead the dough. Instead, it uses several stretches and folds over a short period to do the gluten development.
Using the Tartine method is easier than kneading the dough. It won’t develop the gluten as well as kneading does, but it works well for sourdough bread. It creates a dough with ease whilst still creating a structure. It’s also a good way to practice stretch and folds! You can get the book here on Amazon:
Tartine Bread: (Artisan Bread Cookbook, Best Bread Recipes, Sourdough Book)
What is the Tartine method?
In a nutshell, it works by not kneading the dough. Instead, it repeats a stretch and fold method repetitively at short intervals of 20 -30 minutes for 2-4 hours. This develops the gluten and allows the dough to be developed at cool temperatures for more flavoursome artisan bread.
Which is the best stretch and fold technique to use?
There are many different types of stretch and folds that you can use. What makes the difference is the amount of stretching the gluten undergoes. It doesn’t matter which technique is used yet the amount of kneading and the length of the first rise must be adjusted.
Stretch and fold sourdough – Conclusion
I hope you’ve learned how to stretch and fold sourdough today. These methods can also be used for yeast-leavened bread too. Making tweaks to the preparation of the dough can ensure high-quality bread is made, regardless of which stretch and fold method is used. Which method do you like to use? Have I missed any? Let me know in the comments below.
If you’ve enjoyed this article and wish to treat me to a coffee, you can by following the link below – Thanks x

Hi, I’m Gareth Busby, a baking coach, senior baker and bread-baking fanatic! My aim is to use science, techniques and 15 years of baking experience to make you a better baker.
Table of Contents
- Standard stretch and fold steps
- How many stretch and folds should I do at a time?
- The stretch and fold methods used in sourdough baking
- Stretching in the bowl
- The coil fold
- Letter (envelope) fold
- The Tartine method stretch and fold
- Which is the best stretch and fold technique to use?
- Stretch and fold sourdough – Conclusion
Related Recipes
Related Articles
Latest Articles
Baking Categories
Disclaimer
Address
53 Greystone Avenue
Worthing
West Sussex
BN13 1LR
UK


