Professional bakeries stopped kneading by hand decades ago as they use dough mixers, and some of them are huge! This modern kneading method is more efficient than hand kneading and vital to producing low-cost, high-output bakery products. Commercial mixers work faster, harder, and more precise. But can we get the same results at home using a stand mixer?
Should I use a stand mixer to knead dough?
A stand mixer is a great way to speed up the process of kneading. Some home machines aren’t all that good at kneading dough, but there are a few tricks we can use to maximise their potential. Many bakers discover better results when hand-kneading, but for the sake of ease and time, a stand mixer is often preferred.
How to knead dough with a stand mixer
1) Prep your mixer and add the ingredients

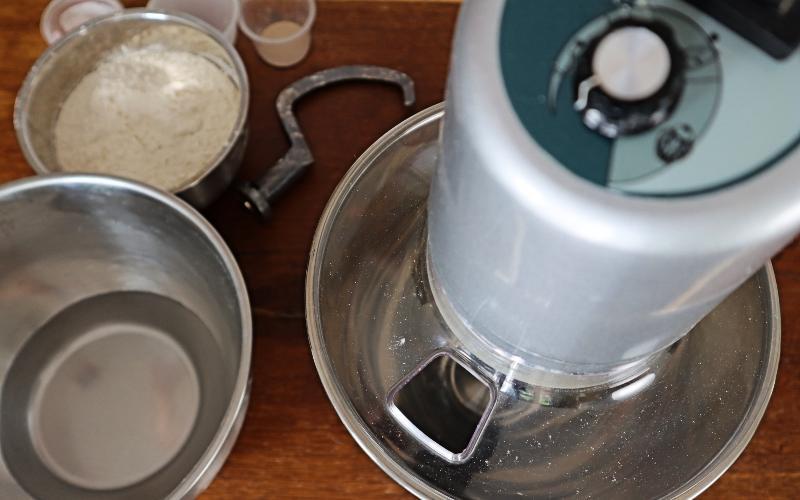
Prepare your mixer by switching it on and getting the dough hook attachment handy.
2) Add the salt and water tot he bowl and whisk

Add the water and salt to the mixing bowl first and give a little mix around until the salt is dissolved. Next, add the rest of the ingredients.
3) Use the dough hook to incorporate

This step is optional, but I recommend that you do it! Gently incorporate the ingredients with the dough hook by hand. This just helps the dough ingredients combine.
4) Set a timer

Always use a kitchen countdown timer to measure your mixing times. Set it for 4 minutes.
5) Knead at slow speed
Attach the dough hook, start the timer and knead at a slow speed (Kitchenaid speed 1). Once the timer sounds, turn the mixer off.
6) Rest the machine
To prevent your mixer’s motor from burning out, start the 4-minute timer again and let the machine rest. If you are using a high-powered dough mixer, you can skip this step.
7) Knead at a faster speed
Turn the speed dial up a notch on the dial, and mix at this faster speed for another 4 minutes. Set the timer again to keep an eye on the time. You might need to hold onto the mixer so that it doesn’t roll around too much!
8) Check the dough and mix again
Once the timer has sounded, turn off the mixer and inspect the dough. If it requires more mixing, rest the machine again for 4 minutes and knead at a fast speed again. You can repeat fast kneading and resting up to 3 times, or until the dough is ready.

How to make the perfect dough in a stand mixer
Many bakers find that they need to use less water when they use their stand mixer instead of kneading by hand. It’s always better to use less water than add extra flour midway through kneading. If your dough is too stiff, you can add extra water as you knead.
How long to knead bread dough in a stand mixer

Bread dough should be kneaded for around 10-15 minutes in total. This will depend on:
- The type of bread dough you are mixing
- The performance of the mixer
- If you are resting the mixer and kneading in bursts
- How long you will allow the dough to rest in bulk fermentation
Leaving the dough to rest for 4 minutes equates (roughly) to kneading slowly for 1 minute. Read the How long to knead bread dough article to learn more about timings and how to measure the development of gluten.
What is the best stand mixer for bread dough?
To knead stiff dough effectively you’ll need a reasonably powerful mixer. A mixer that uses less than 1000 watts is going to struggle to knead the dough. Less powerful mixers can still be used to make bread but if selecting a stand mixer primarily for kneading bread it is best to choose one that you are sure will cope.
If you are serious about baking, I recommend an Ank, or Hobart mixer. You can pick up a Hobart second-hand for around the same money as a domestic stand mixer. They are excellent at working dough and extremely reliable. They make kneading dough effortless, so you won’t need to rest the mixer between kneading! Just set the mixer at speed 1 and knead for 5 minutes, then increase the speed to speed two, for another 5 minutes. If the dough tears as it mixes, you are going too fast!
Can a KitchenAid mixer knead bread dough?
Years ago KitchenAid’s were recommended by professionals and home cooks alike, but in recent years their hard-wearing parts have been replaced with cheaper, less powerful replacements. As much as they look fantastic they aren’t as powerful or hard-wearing as they used to be. You can use a KitchenAid to knead bread dough, however, the manufacturer states you should do so in 2-minute bursts between 4-minute rests to protect the motor.
Common troubleshooting issues with kneading dough in a stand mixer
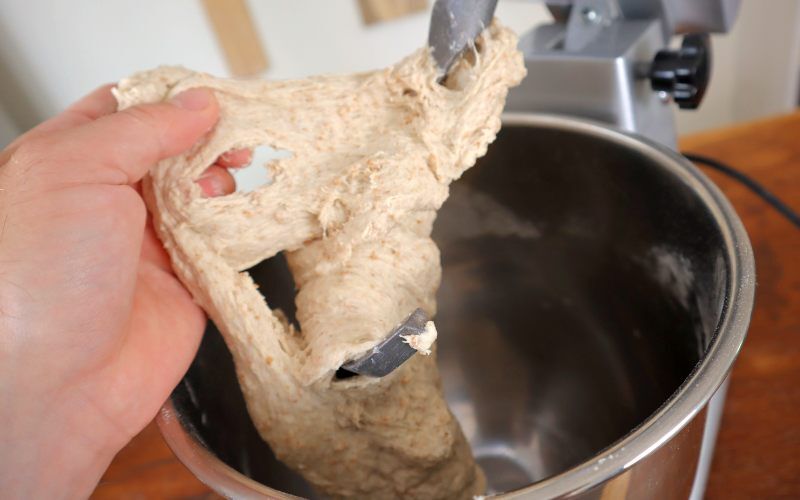
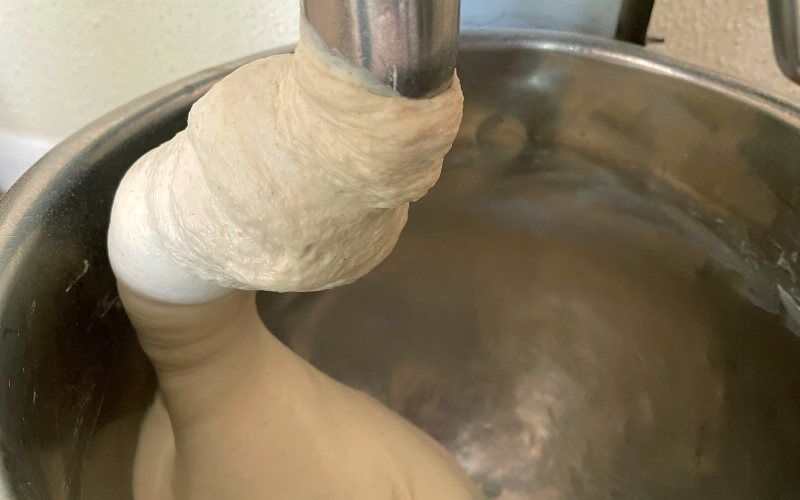
Dough is climbing up the hook

This is a common fault of stand mixers and results in the user having to stop the mixer and re-distribute the dough repetitively. You can try adding more water to the dough or mixing at a higher speed, but in most cases, the problem can’t be fixed without upgrading the mixer.
Dough forms a ball initially but is wet and sticky and doesn’t feel like a dough
Many stand mixers can’t distribute the water and stretch the gluten very well. The result is a sticky dough that doesn’t develop properly. The same faults can also lead to a patch of dough clinging to the bottom of the bowl and not being kneaded. There are a few things you can try to lessen these issues although they might not fix them completely.
- The first solution is to recalibrate the height of the dough hook in the bowl. This will make sure that the machine is operating as it should. Here is a guide to calibrating a KitchenAid, you’ll have to refer to your user manual for other brands.
- Autolyse the flour by soaking it in the water from the recipe and leaving for 30 minutes before adding the remaining ingredients and mixing. This will allow the protein to hydrate and start to form gluten bonds before mixing.
- Use less water in your dough in future. This will make the dough form a denser mass.
- Add a little flour to the dough. I advise against this one, but do it if you need to.
- Try the recipe with hand kneading to see how well the dough performs
Mixer head moves up and down while kneading
Whilst there will be some movement in the mixer head as it kneads dough, it shouldn’t be bouncing up and down all the time! This is a visible display that the dough hook is meeting too much resistance as it kneads. There may be a screw that can be tightened if you check the models’ instruction manual. If not, you can push the head of the mixer down, use a slower speed or add more water to your dough.
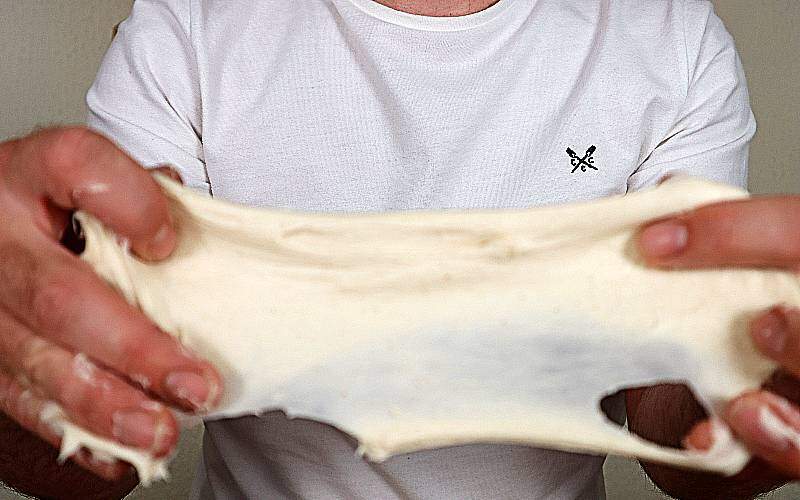
Dough doesn’t pass the windowpane test after 30 minutes of kneading
If after kneading the dough for more than 25 minutes you have not reached its intended gluten development, just stop. Allow the dough to mature during bulk fermentation and consider adding prefermented dough to the recipe next time.
Conclusion
Sadly the majority of domestic mixers really struggle to make good quality bread dough. It’s why I advise every new baker to learn how to knead dough by hand first of all. This gives first-hand knowledge of how things should behave during each stage of the mixing process. I hope that you have found this article useful. How about mixing and resting for a few minutes, is that something you will try? Let me know in the comments.
Frequently asked questions about stand mixers
If you’ve enjoyed this article and wish to treat me to a coffee, you can by following the link below – Thanks x

Hi, I’m Gareth Busby, a baking coach, senior baker and bread-baking fanatic! My aim is to use science, techniques and 15 years of baking experience to make you a better baker.
Table of Contents
- Should I use a stand mixer to knead dough?
- How to knead dough with a stand mixer
- How to make the perfect dough in a stand mixer
- How long to knead bread dough in a stand mixer
- What is the best stand mixer for bread dough?
- Can a KitchenAid mixer knead bread dough?
- Common troubleshooting issues with kneading dough in a stand mixer
- Conclusion
- Frequently asked questions about stand mixers
Related Recipes
Related Articles
Latest Articles
Baking Categories
Disclaimer
Address
53 Greystone Avenue
Worthing
West Sussex
BN13 1LR
UK


