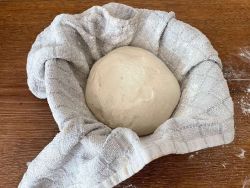
8 Proofing Basket Alternatives That Are (maybe) Better

Knowing the best proofing basket alternatives is pretty handy if you are just getting started and don’t own a banneton. You may also need a banneton solution if you don’t have enough bannetons and are making large batches of bread. These proofing basket substitutes work as permanent or temporary solutions. And some of them are so good, you might prefer the alternatives to standard bannetons!
What to use instead of a banneton
What can you use to proof bread when you don’t have a proofing basket? Here are some proofing basket alternatives using ordinary objects you might already have at home:
- A linen cloth or couche
- Mixing bowl
- Wicker basket
- Colander
- Soup bowl
- Plastic containers or Tupperware
- Terracotta pot
- Freestanding
What does a proofing basket do, anyway?
After the dough is shaped, it is placed into a tin or proofing basket to rise. Proofing baskets, typically bannetons are favoured for sourdough bread but can be used for yeast-leavened bread. A proofing basket helps the dough hold its shape, forcing it to rise upwards. Once the dough is proofed, it’s turned out of the basket, scored, and either; slid into the oven using a peel, or lowered into a Dutch oven for baking.
Bannetons are usually made from wound wicker cane, but others are made from Brotform. Both types are round or oblong to make round or batard shaped loaf. In addition to supporting the rise, they can give the crust a pattern. Traditional wicker bannetons leave a beautiful indent on the bread if used without a cloth liner. They also allow a small amount of air to enter the edges of the dough, which draws surplus moisture from the crust.
If you’d like to get yourself a banneton, see the proofing basket that I recommend here. But if you don’t have one, one of these alternatives will work nicely for you.
Proofing basket alternatives
Now, let’s look at the proofing basket substitutes I listed a moment ago to see how they work. Many of which could already be lying around your house or kitchen cupboard.
#1 – A linen cloth or couche
Making a couche with a linen cloth is a great way to support a dough as it rises. It’s the original way that bakers proof baguettes and ciabatta. Yet, a couche can be used for larger loaves too. While they are of little use to support proofing round loaves, they are a fantastic solution for oblong or batard-shaped bread.

You can buy a couche, yet you can make your own with a clean tea towel, tablecloth or curtain liner. Try to select a material that doesn’t fray. Getting bits of cotton in your teeth is a pretty unpleasant and annoying!

To use this method, flour the cloth, and place the dough down with the seam at the top. Then, fold over the edges of the cloth to support the sides of the dough. Another dough piece can be placed next to it, and the edges folded over again. If you are only making one piece of bread, or it’s the piece at the side of the cloth, place something heavy at the edges to prevent the dough from spreading outwards. Once proofed, the dough can be lifted out of the cloth and flipped onto a board, scored and baked.
#2 – Mixing bowl
Any suitably shaped mixing bowl can be used to proof bread dough. Line your mixing bowl with flour to turn it into a proofing basket. I also advise that you line the bowl with a clean cloth before flour dusting. This will prevent the dough from sticking.


#3 – Wicker Basket
Wicker baskets are considered good enough for one of the best bakeries globally! The Poilâne bakery uses wicker baskets to provide the unique shape of their Miches’. Again, choose one with a cloth that doesn’t fray. These are reasonably easy to find. Wicker baskets are cheaper than bannetons but can be less durable. A serious contender and using your own basket will make your bread unique!

#4 – Colander
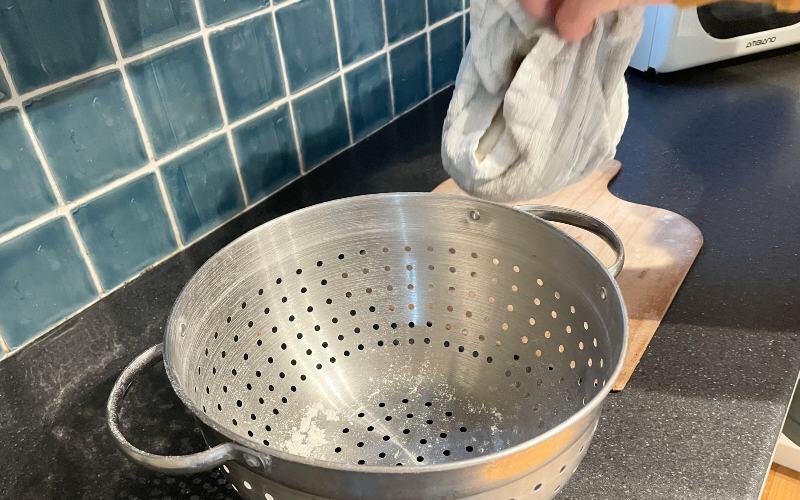
You can use a colander covered with a dusted tea towel or cloth to prevent the dough from sticking to proof bread. A colander is a handy solution, especially if you have nothing else around! As they are wide, expect the dough to spread wide. It’s best to use colanders to proof large dough sizes.

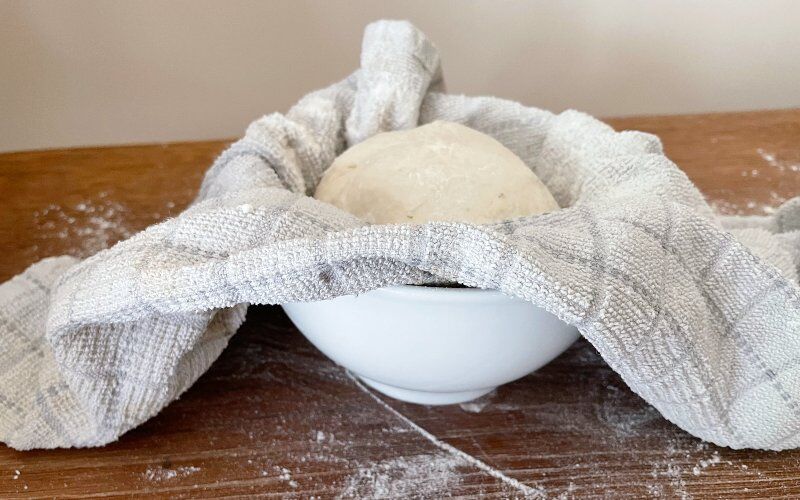
#5 – A soup bowl
If you are wondering, “can I use a bowl instead of a proofing basket?” you’ll be pleased to know that, like a mixing bowl, a soup bowl can support bread as it rises. Depending on the size of your crockery, you might be restricted to making small cobs.
#6 – Plastic Containers Or Tupperware
You can use plastic containers to proof bread in unusual sizes. I’ve even heard of bakers using old metal biscuit tins to make square loaves! They are best lined with a cloth dusted with flour before the dough goes in to rise. Another good reason to eat ice cream!

#7 – Terracotta Pot
I bought a couple of terracotta pots to bake bread in. The test bake turned out to be a disaster as I couldn’t get the bread out of the tin. Maybe this could have been rectified by greasing with oil, but I have heard that they contain harmful chemicals, so it’s not something I’ll be pursuing!
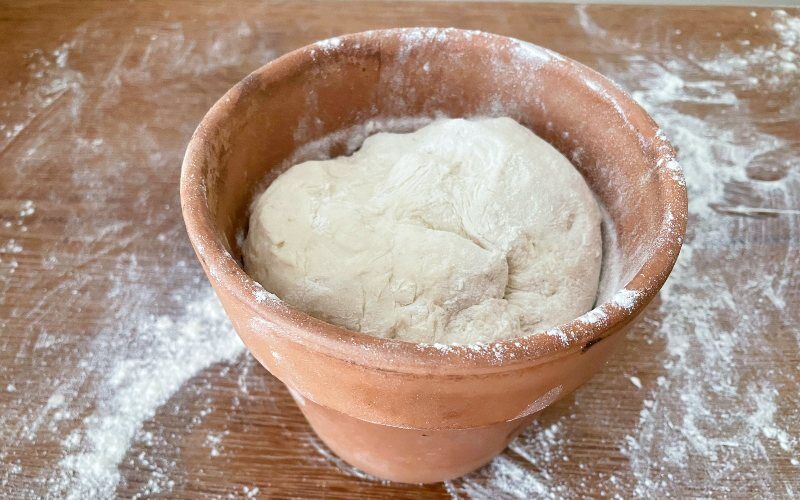
When using terracotta pots as a proofing basket alternative, you can succeed if lined with a cloth. The cloth protects the dough from soaking up any nasties. Expect unusual shapes!
#8 Proof free-standing and ditch the basket!
How do you proof dough without a banneton? Well, you could not use anything! Just shape your dough and let it rise on a tray without a basket!! This solution works for strong, slightly dryer doughs. There is no chance of indentations on the crust if you don’t like them. Your dough will not stick to a container, either! Keep the dough’s surface moist by regularly spraying it with water or covering it with an inverted bowl.

How to remove the dough from a proofing basket alternative
When using a banneton, we turn the basket over and tap it on top to release it. But when using some of these proofing basket substitutes, the drop can cause the dough to deflate with the thud. Here’s a solution to this issue:
Grab the 4 corners of the liner and lift the dough out of the proofing basket whilst upright. Then, turn the dough onto a board (or peel) upside down.
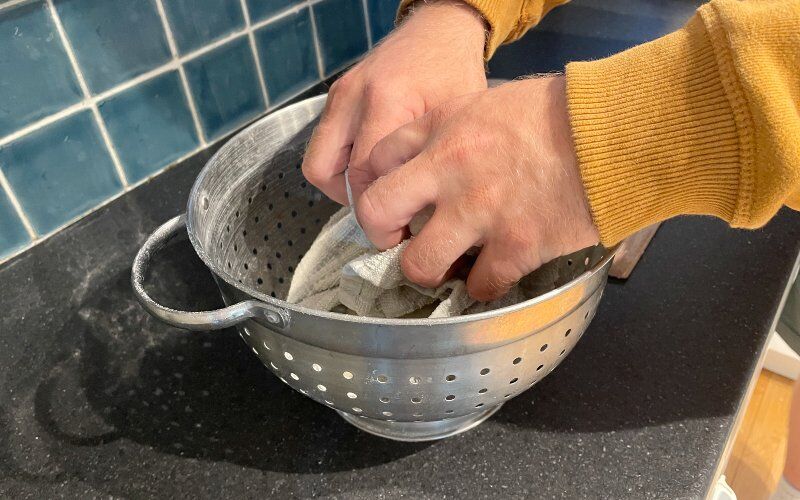

Pull the liner away, being careful if the dough has stuck to it. Once on the board, you can score it and put it straight into the oven.


Why a real banneton is better than a substitute, or is it?
Now you’ve seen all these proofing basket alternatives, I bet you’re wondering why you should use a standard proofing basket? Well, here are arguments for and against:
Pros:
- Relatively cheap, especially considering how long they last
- No need to clean after every use
- For the traditionally accepted bread shape
- It can leave a beautiful spiral imprint on the bread when used without the cloth liner
- Ergonomically shaped well, making them easy to use
Cons:
- Hard to find in the high street
- They are often used for every bread, making them all look the same!
- The cloth liners are hard to clean
- Storage space
- If left in a humid place, they can attract insects.
What is proofing?
Proofing is a vital stage that begins after the dough is shaped. It’s where the yeast produces carbon dioxide through respiration or fermentation. The gas expands the dough so that it rises. Once the dough has risen to its desired size, the dough is usually scored before being placed into the oven.
How to tell when bread is fully proofed?
The dough is ready to be baked once it reaches its expected rising height. Timing this to perfection is a challenge that many newbie bakers struggle with at first. If the dough is under-proofed, it will be dense in the centre. If it’s over-proofed, it may have holes through the centre of the crumb or even collapse.
When baking the same recipe every time, it’s easy to see how high the dough has risen and bake when it reaches its ideal height. If you are using a new recipe, new to bread baking or using a different proofing basket (as is likely the case after reading this article!) I can help! The video below explains a few things to look for when you prove bread. We can use the “poke test” and look at the shape of the rising dough to tell if it is ready for the oven. Watch the short video to learn more:
Ending thoughts on proofing basket alternatives
Don’t let not having a banneton stop you from making artisan or sourdough bread! You may have many solutions at home or could possibly nip out and grab from a local store. But have I missed one? What is your favourite banneton alternative that you use? Let me know in the comments.
Frequently asked questions about proofing basket alternatives
If you’ve enjoyed this article and wish to treat me to a coffee, you can by following the link below – Thanks x

Hi, I’m Gareth Busby, a baking coach, head baker and bread-baking fanatic! My aim is to use science, techniques and 15 years of baking experience to help you become a better baker.
Table of Contents
- What to use instead of a banneton
- What does a proofing basket do, anyway?
- Proofing basket alternatives
- How to remove the dough from a proofing basket alternative
- Why a real banneton is better than a substitute, or is it?
- What is proofing?
- Ending thoughts on proofing basket alternatives
- Frequently asked questions about proofing basket alternatives
Related Recipes
Related Articles
Keep up to date with the latest Articles, Recipes & Bread Baking info by joining my mailing list
Join The Weekly Bread Baker's Newsletter!
Latest Articles
Baking Categories
Disclaimer
Address
8 Woodland Avenue,
Worthing
West Sussex
BN13 3AF
UK


Leave a Reply