My Bread Collapses In The Oven, What Am I Doing Wrong?

Bread is one of the most comforting and versatile foods to make at home. Yet, sometimes, it doesn’t turn out right! Whatever the reason, a loaf that collapses in the oven or right before baking is a significant pain! So what are the reasons why bread collapses in the oven, and how can we avoid making these mistakes, so the next batch is Insta-perfect? Let’s find out…!
What is the science behind collapsing bread?
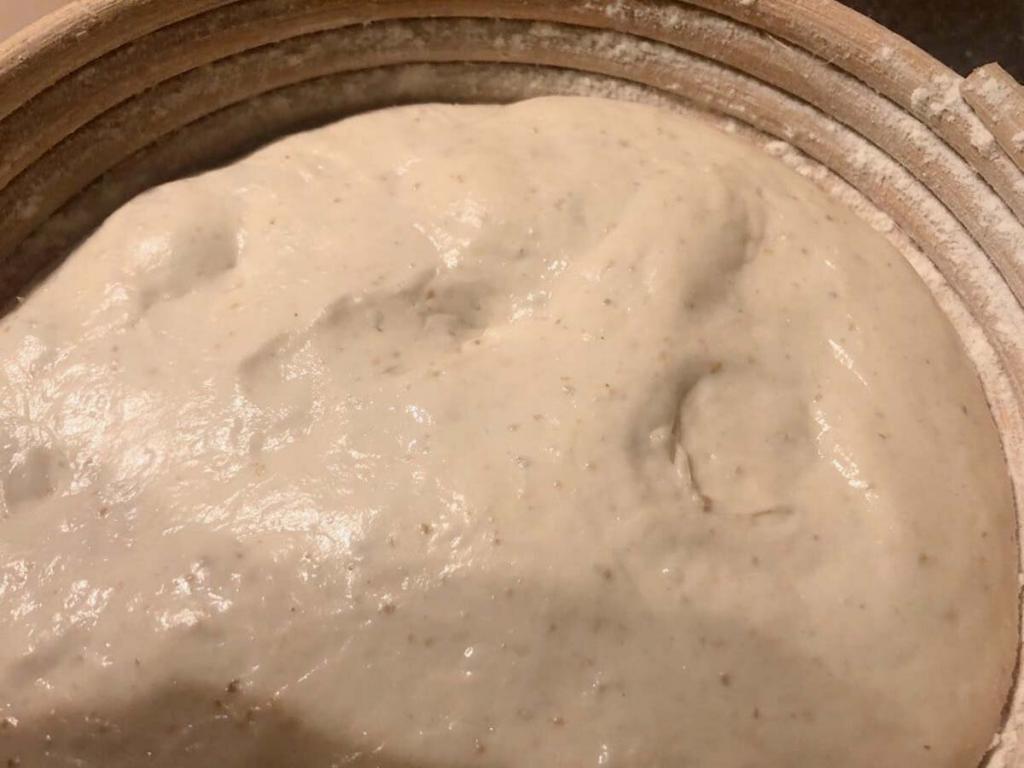
Dough collapses when the gluten network is too weak to retain the gas produced from yeast fermentation and crushes under its own weight. This can be due to weak flour, under kneading, over proofing or poor handling.
When can bread collapse?
Bread can collapse during proofing, slashing, when transferred to the oven or during the first ten minutes of baking. Usually, the dough collapses due to a defect in the dough. But, a mistake when handling the dough, such as dropping it, will also destroy the structure. Unless the flattening is due to bad handling, the rule is:
“The earlier it collapses, the more overdeveloped the dough”.
The most common reason for bread collapsing is overrising. If you find that your bread is collapsing after baking, try reading the Why is my bread collapsing or shrinking after baking post.
What happens when bread rises?
Yeast produces carbon dioxide gas and ethanol through fermentation when the dough rises. It also facilitates organic acid development, which produces (largely) lactic and acetic acids. These acids, alongside ethanol, mature the dough to make it taste better, keep gas better and help it to stay good (fresh) for longer.
Acetic acid fermentation also produces carbon dioxide gas to boost the dough’s rise. This is prevalent in sourdough starters, where they’re responsible for around 50% of gas production (alongside wild yeasts).
How to stop your dough collapsing
Let’s look at how to fix the problem. Here are 6 ways to stop your bread collapsing and ending up as dense as a brick!
#1 Use good quality flour and work it well!
Cheap, poor quality flour won’t withstand extended rises without collapsing. If you use artisan long fermentation techniques a high-quality artisan flour is generally needed. It is unnecessary to use bread flour for every bread. All-purpose flour often works, providing it’s from a reputable mill.
If your first rise is relatively short, you should knead the dough well to work the gluten so that it’s nice and robust. High-protein flour is also best used as it contains more gluten. This is so important as the dough needs the structure to retain the maximum amount of gas possible for a more significant rise and prevents the bread from being dense.
An efficient hand-kneading technique or a dough mixer saves you time and energy and makes perfect bread!
#2 Slow down the rise with less yeast and cooler temperatures
Decreasing the amount of yeast or sourdough starter slows the rate of the rise. This is necessary for no-knead bread recipes where the gluten develops naturally over time instead of mechanical force.
Many recipes combine kneading with a longer rise or a two-stage rise. This provides a stronger gluten network as the dough becomes more mature.
Cool proofing temperatures are used to slow fermentation. We want to allow plenty of time during the first rise for the dough to mature whilst stopping it from getting too gassy. Too much gas early on forces the dough structure to collapse as the weak gluten cannot contain its weight.
#3 Know when to end bulk fermentation
Knowing how long to push the first rise is a challenging skill. For an open crumb, it’s common to want to extend the bulk rise. Letting the dough rise to double (sometimes more) works wonders for an open crumb and more intense sour flavour in sourdough bread.
Letting the dough rise like this can only be executed using less yeast or a weaker levain such as sourdough. If making bread with lots of yeast (1.8% upwards of the flour weight), the yeast is likely to run out of food in the long rise. This will prevent it from rising after shaping and is likely to collapse when it meets resistance as it goes into the oven.
For bread made with higher amounts of yeast, 50% bulk fermentation growth is satisfactory. A recipe with a high ratio of starter (~40%) to flour should rise less before it is shaped.
#4 Test if it’s ready with the poke test
A good check to know when the dough is ready to bake will stop you from over proofing bread. For this, we can use the poke test.
How to use the poke test
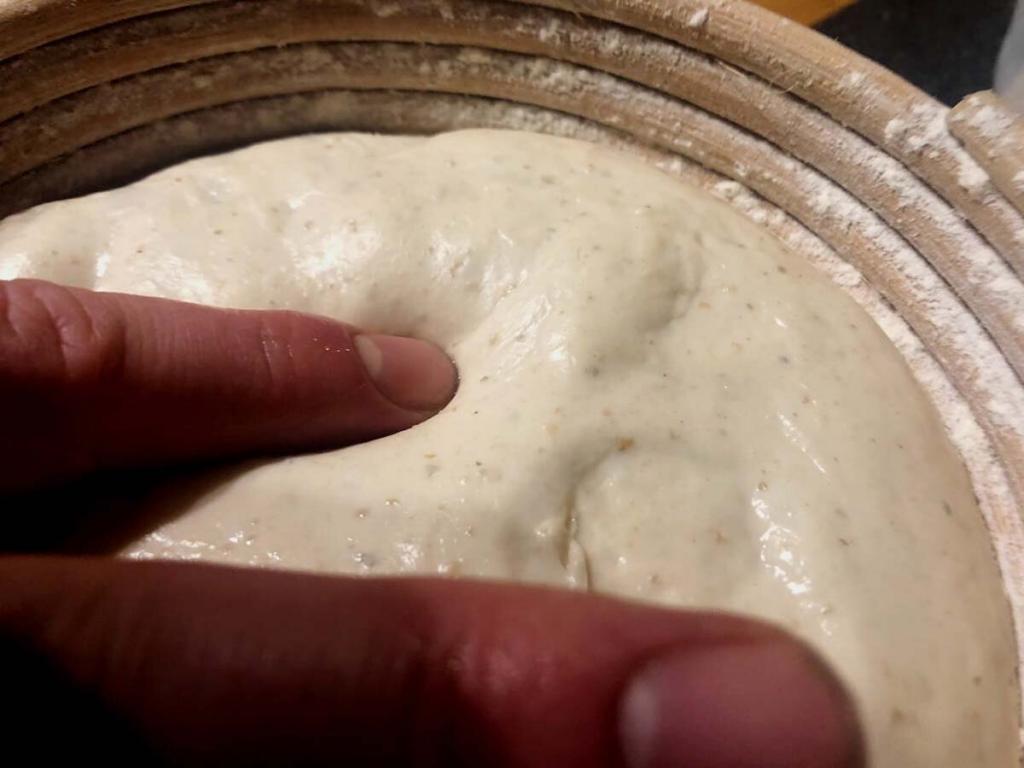
As the dough rises, wet your finger and poke it into the dough about half a centimetre (just under). Pull your finger away and watch how quickly the dough springs back.


If it springs back straight away, it’s under proofed. If it stays down for 2-3 seconds before returning, it’s ready. If it stays down for longer or doesn’t return, it is over-proofed.
Note: If you are not sure whether your dough has finished proofing, it’s better to underproof than overproof.
#5 Careful when scoring!
A delicate dough can also collapse when scoring. If you think you’ve over-proofed the dough, don’t weaken its structure by slashing it. Just slide it straight onto the oven, give it some steam and shut the door.
Bread made with whole grains such as wholemeal, whole wheat, spelt and rye has a tendency to collapse when cut. Don’t slash whole-grain bread unless it contains a high ratio of white bread flour.
#6 Don’t drop the bread!
Poking it, dropping it and general f$%£ ups like when the dough sticks to the peel can cause a delicate dough to collapse. Not putting enough flour in the banneton before it goes into proof is one of my most frustrating misdeeds! Also, in my aim to reduce dry flour on the base of the loaf, I sometimes under-flour the peel making the dough stick to it. Very frustrating!
TIP: Have your working area prepared, so you don’t get tempted to “forget” to flour dust or lose your equipment when you’re in a hurry!
Ending thoughts on bread collapsing in the oven
These top 6 tips should prevent your bread from collapsing in the oven or just before. Which ones will you try? Let me know in the comments below or ask any questions!
If you’ve enjoyed this article and wish to treat me to a coffee, you can by following the link below – Thanks x

Hi, I’m Gareth Busby, a baking coach, senior baker and bread-baking fanatic! My aim is to use science, techniques and 15 years of baking experience to make you a better baker.
Table of Contents
Related Recipes
Related Articles
Latest Articles
Baking Categories
Disclaimer
Address
53 Greystone Avenue
Worthing
West Sussex
BN13 1LR
UK


